Showing posts with label Silhouette Portrait®. Show all posts

23 Jan 2019

Year of the Pig - Fortune Cookie Basket - In My Heart Box by Simply Crafty SVGs


Hiya, This week I've had such fun playing with the In My Heart Box SVG File by Simply Crafty SVGs. I converted it into a basket for my homemade paper fortune cookies and added decorations to celebrate the forthcoming Chinese New Year - the year of the pig.

The designer Sandy, has made a fabulous video on how to put the basket together. In this post I've shown the alterations I made. I used my Silhouette Cameo and the Silhouette Studio software, but any changes I made can no doubt be replicated in other cutting software and with other machines.


Materials Used:
American Crafts textured card in Red
Kraft cardstock (heavyweight, 260gsm)
Antique Pearl Gold paper (120gsm)
Beacon 3-in-1 Adhesive
Black adhesive foam pads
Silhouette Cameo
Silhouette Pen Holder
Pentel Hybrid Gold pen

Files Used:
Simply Crafty SVGs In My Heart Box

Other Digital Files:
ZP Chinese Zodiac font by ScrapNfonts (for the pig icon)
Chinese Characters Love, Laugh, Live by Loni Harris


Basic Box/Basket
I cut the basic shape from kraft cardstock and then inked the edges with gold metallic stamping ink. The cutout heart won't show as it will be covered by a the decorative panels on the outside, and a new liner piece on the inside.


Handle
The two existing handle pieces were cut from kraft and red cardstock. I additionally made an internal offset on the red piece and cut that from gold paper.


Decorative Front Panels
In the software, I ungrouped the panel pieces and then released the compound path on the front panels and removed all the elements except the little heart swirl. I then cut these from red cardstock along with the plain side panels.


I inked the edges with gold ink and then adhered them to the box base. It was easier to adhere them while the base was still flat.


Gold Lining Pieces
I made lining pieces by making a slightly smaller version of the outside panels using an internal offset of both. I adhered these before assembling the box, but they would be better adhered after, as they would cover the internal flaps. Next time I'll do it differently!


Embellishments
The embellishments were made using the Sketch function, and a gold gel pen in the Silhouette Pen Holder on the reverse of the red textured card. For the pig an offset was made for the cut line. Then a further offset was made and cut from the gold paper. The pig was then adhered to the offset, and the whole thing mounted onto the box with adhesive foam pads. The Live, Laugh, Love characters were similarly drawn, cut out, and mounted on the front and sides of the box.


Fortune Cookies
The gold paper fortune cookies were simply made from circles of gold paper. To keep this post shorter, the instructions for the fortune cookies can be found in a separate post here.

This is the Simply crafty SVG file I used. Just click on one of the photos to visit the page in Simply Crafty SVGs online store.


Simply Crafty SVG Files:
In My Heart Box


21 Jan 2019

A Beginner's Guide to Cutting Cardstock and Making 3D Designs


Hiya, Over on the Silhouette UK Blog I have a pretty and practical Valentine's papercraft project using the Heart Bowl (#39182) file by Snapdragon Snippets. The mini size is perfect for sharing some chocolates or a special gift on Valentine's Day. I've also shared some useful tips for preparing and assembling cardstock projects.


Tips include

  • Fitting more pattern pieces to a sheet
  • Changing perforated lines to score lines
  • Using 'Cut by Line' to use different cut settings on the same pattern piece
  • Advantages of using liquid adhesive
  • How to clean up excess adhesive
  • Reducing the size of the finished item
  • Choosing different weights of paper and cardstock


5 Jan 2019

A Beginner's Guide to Print & Cut with the Silhouette - focus on stickers

Print & Cut Sticker Sheets Tutorial - by Janet Packer, https://craftingquine.blogspot.co.uk Crafting Quine for Graphtec - Silhouette UK


Over on the Silhouette UK Blog I have a Print & Cut project for the Silhouette using a sticker design from the Silhouette Design Store. It includes step-by-step instructions for manipulating the store bought design to get maximum value from these purchased studio sticker files. The instructions include: how to set up a Print & Cut sticker page, adding a trim line around sticker sets, re-sizing sets, and cutting sticker planner pages.

Print & Cut Sticker Sheets Tutorial - by Janet Packer, https://craftingquine.blogspot.co.uk Crafting Quine for Graphtec - Silhouette UK


I have a second post with further ideas for getting more from sticker files from the Silhouette Design Store. These include mirroring the images, splitting the set of images, isolating individual images, and making co-ordinating functional stickers.

Print & Cut Sticker Sheets Tutorial - by Janet Packer, https://craftingquine.blogspot.co.uk Crafting Quine for Graphtec - Silhouette UK


Here I have reproduced the general Print & Cut section as I'm sure you'll find it useful if you are new to Print & Cut, or if you haven't used the Silhouette Sticker Paper before.

This is the design I used. I think these birds are so pretty. The stickers can be used on SO many crafting projects.


Little Bird Stickers by Carina Gardner (#284076) 


Here are my Print & Cut Instructions - just four easy steps.

(a) Page Setup for Print & Cut

In the Page Setup panel, change the Page Size to match the sticker paper (Silhouette Printable Sticker Paper is U.S. Letter sized).  Also tick the Show Print Border and Show Cut Border boxes.


From the Registration Marks tab, select Type 1 in the Style dropdown box, I like to also increase the Thickness to .60 to make the marks easier for the sensor to detect. If you were to look at the virtual mat, you'd see that the registration marks are joined by the cut (red) line. Any item outside of this red box will not cut.


(b) Print Page Setup

In the Main Menu (top of the page), change the Print Page Setup to match the Page Setup (i.e. Letter size). If there is a borderless option for Letter size DO NOT select it. Leave the scale at one hundred percent.


The print (grey) line will now be visible within the page borders and outside the cut line. Any part of an item outside the grey box will not print. Where possible avoid overlapping the hashed area (dark printing in this area can cause the sensor to mis-read the design).


(c) Print the Design

Once your have placed your sticker design in the correct position, print the design on your printer (from the Main/Top menu chose File > Print). For most printers select 'Best' or 'Photo Quality' for the best result. You may notice that any line with the thickness set to zero will not be printed.


(d) Cut the Design

Press the printed sheet onto the cutting mat, aligning it with the top left-hand corner of the sticky area. Load it into your Silhouette and open up the Send tab. Select the cut setting for "Sticker Paper, White". Adjust the force to achieve a "kiss cut" (cutting through the sticker layer, but not the paper backing). I usually reduce the force to '12' and recommend you use a Test Cut to find your ideal setting. Highlight the Cut option and check that the correct lines on the design will be cut. If they are correct, Send the design to cut. The Silhouette will attempt to read the registration marks and then cut the design.


I hope you find this useful.


25 May 2018

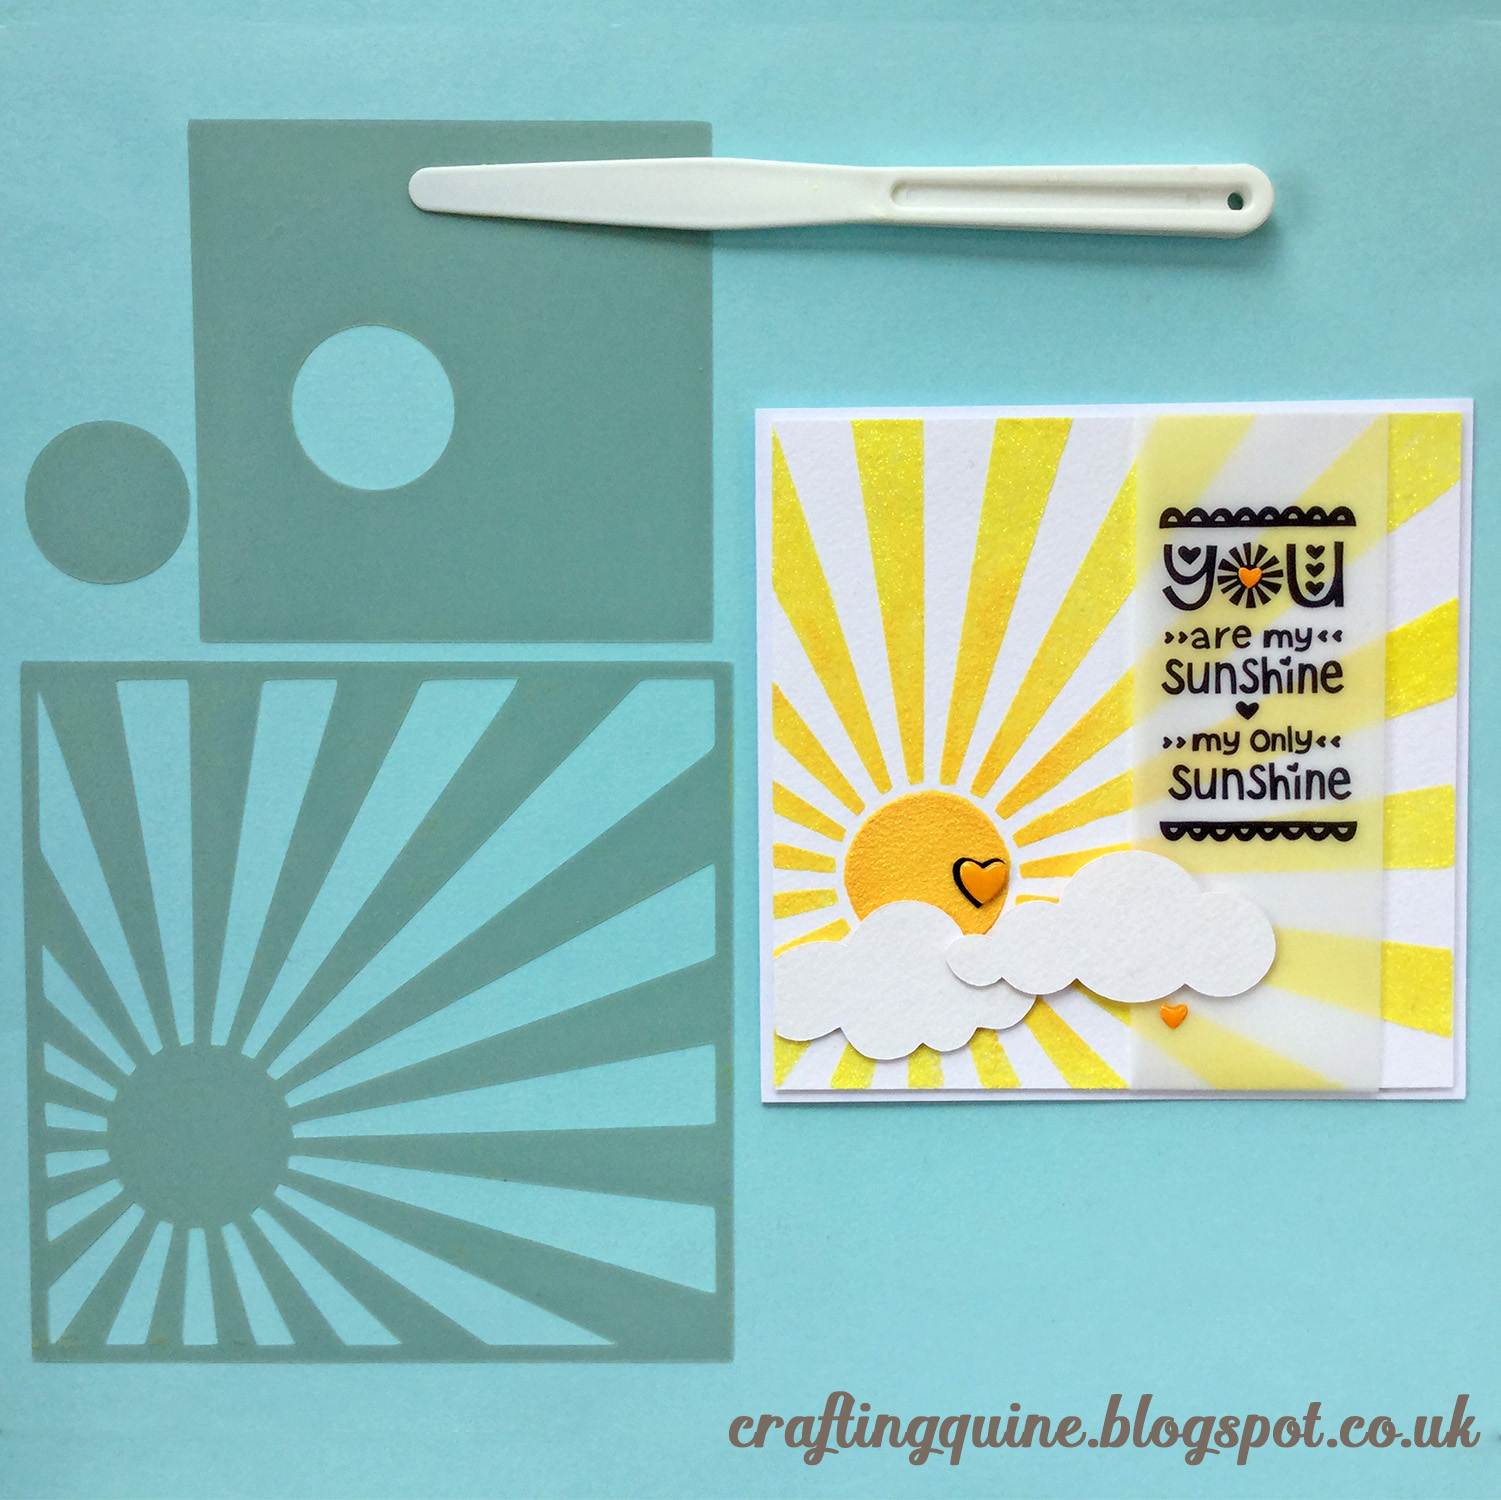
Cut your Own Stencils with the Silhouette Cameo


Hello, Janet here with a media I haven't tried before ... Silhouette Stencil Material (the non-adhesive variety). It comes in a pack of six letter-sized, thick, plastic-y sheets. My first thought was that it would be perfect for making stencils to use with a mix of pigment ink and glitter paste. I was impressed with the resulting stencils and mask, so have shared the process of making, and using the stencils, together with the finished card, on the Silhouette UK Blog.

These are the designs that I used:


I loved using the stencil material and have all kinds of projects in mind for this stencil and for others! They can be used with glitter paste, mousse, texture paste, or sprays and mists.  I think I'm going to be busy!


Do you make your own stencils? I'd love to hear your ideas and suggestions.


10 Sept 2016

A Beginner's Guide to Mat Keeping

Beginner's Guide to Silhouette Mat Maintenance by Janet Packer (CraftingQuine)


Hello, on today's Silhouette UK Blog I have written a guide to maintaining you Silhouette mat. It's title and sub-heading sound a little tongue in cheek, but hopefully this simple guide will prove useful especially to new Silhouette users.